Part one: Warranty-voiding repair...
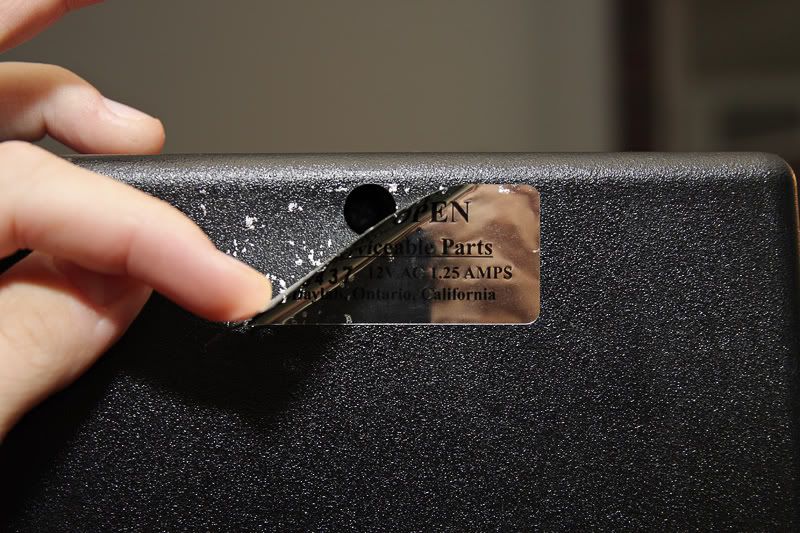
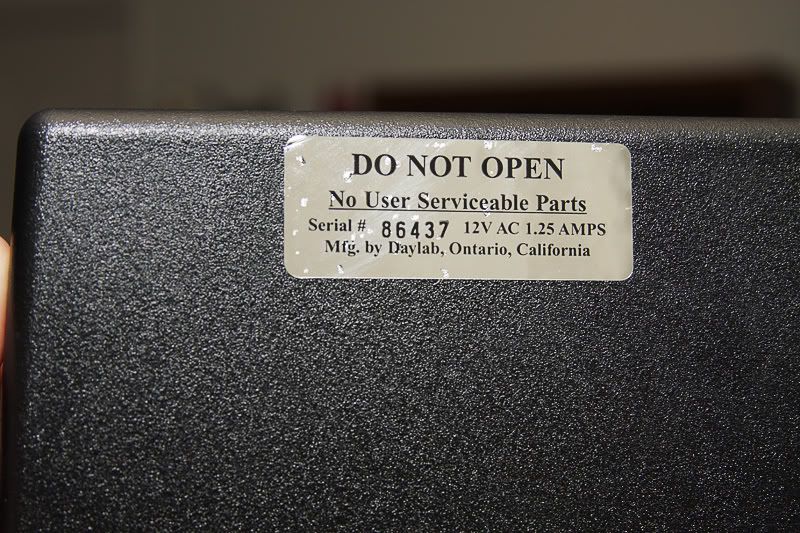
The first problem is how to take it apart... The special screw that opens it up has a top secret hiding spot behind this "DO NOT OPEN" sticker.
Proceed at your own risk. This releases the back. You’ll notice two screws that hold the front of the head in place. Remove those before moving to the smaller screws that attach the base of the head to the post that holds it all together.
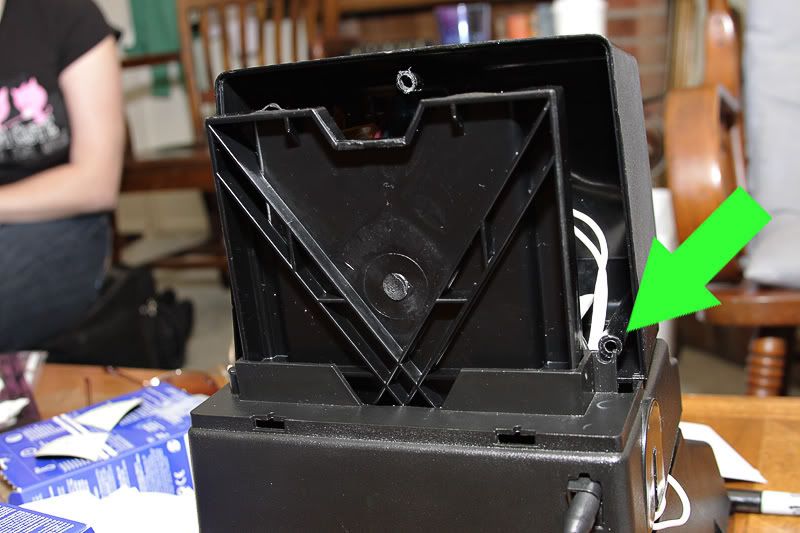
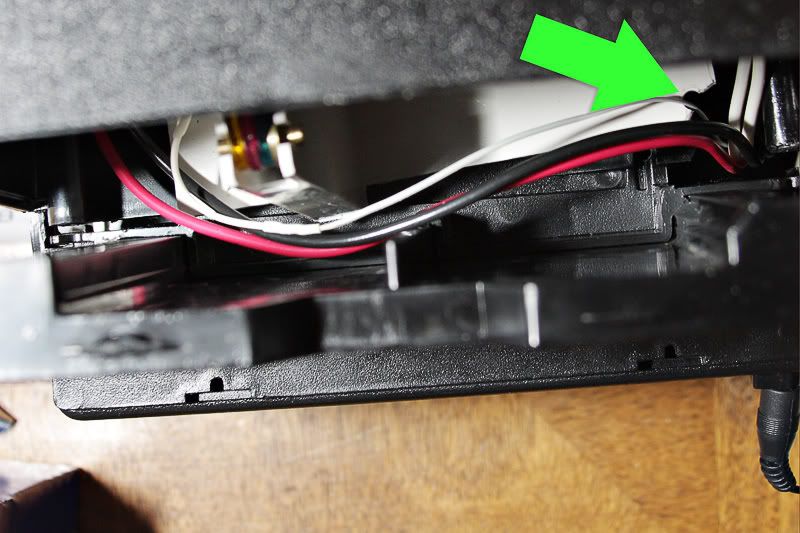
Before trying to take it all apart, look down and unscrew the white box on the inside from the base. This white box holds the flash, color filters, and test lamp.
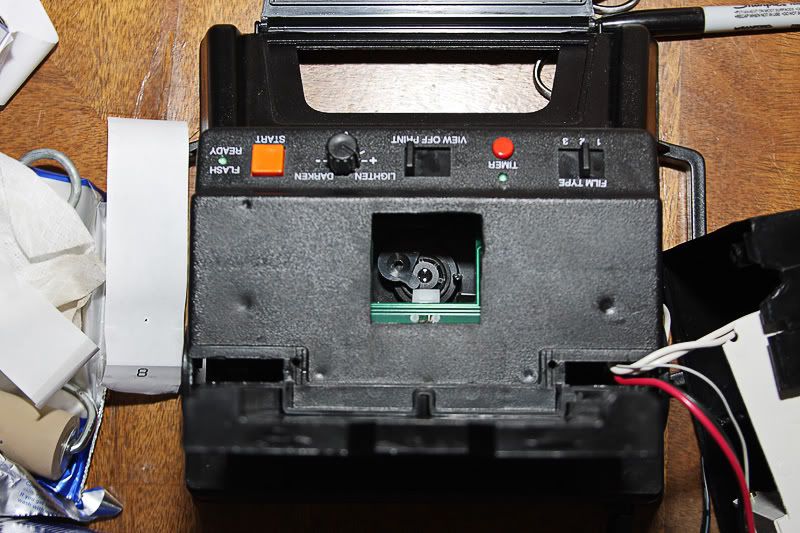
Now that the head is off, set it to the side. To get to the control board, you have to lift the lower part of the head off of the base.
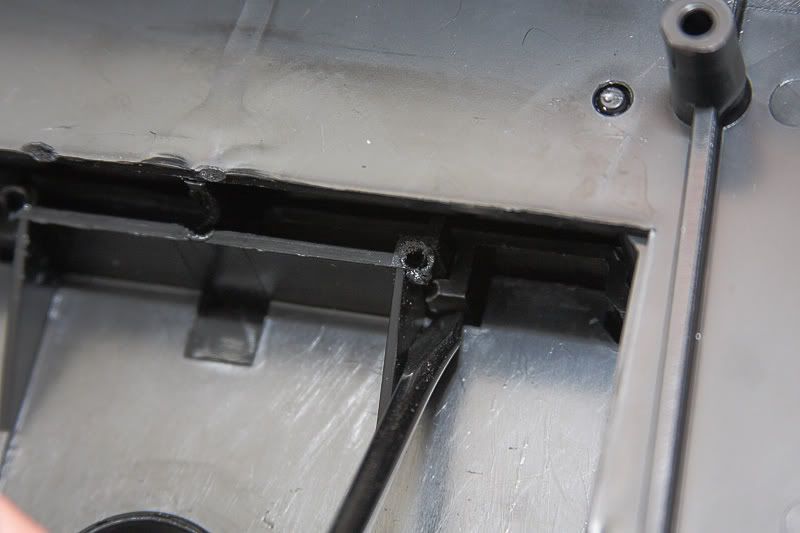
Here’s the trick: Guaranteed to void your warranty:
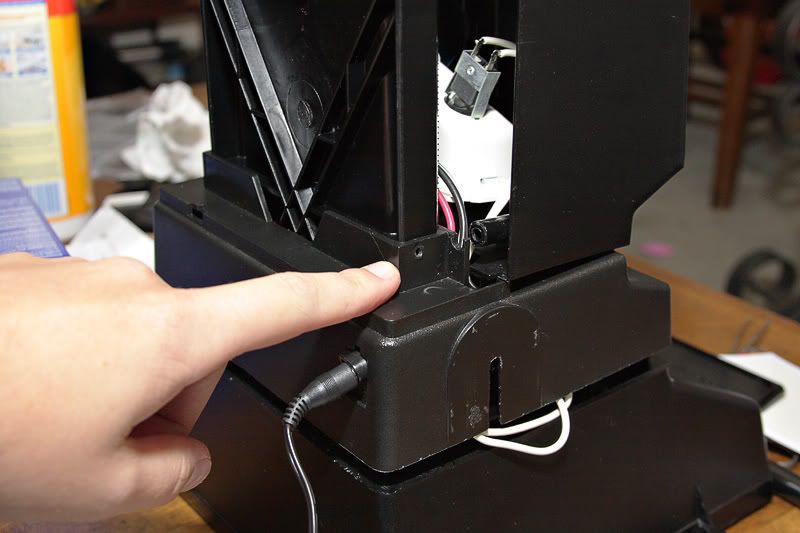
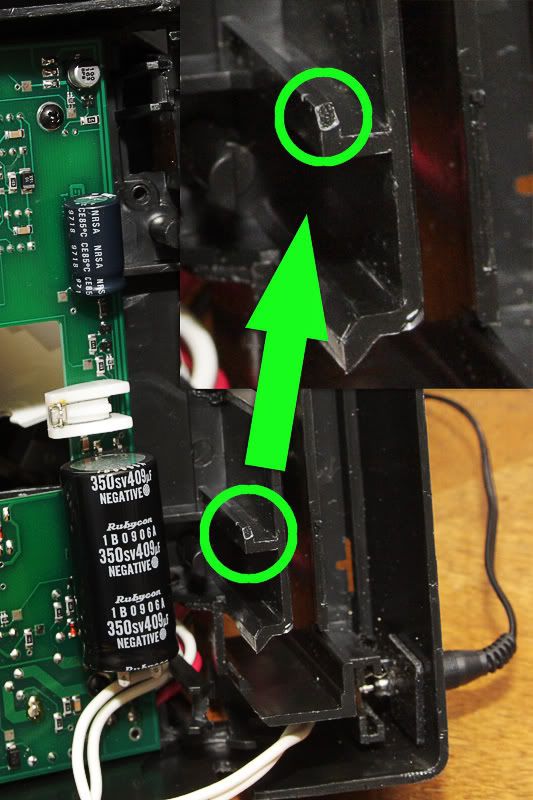
Flip it over and look up into the base. There are two circular spots where the plastic has been heat-welded together. The part to the left of the screwdriver head is the base, and the part in front of the screwdriver head is the post attached to the head. You have to separate those pieces of plastic and push the head post inward. You can see at the tip of my finger where the plastic heat-weld has split, and where the post has been pushed down.


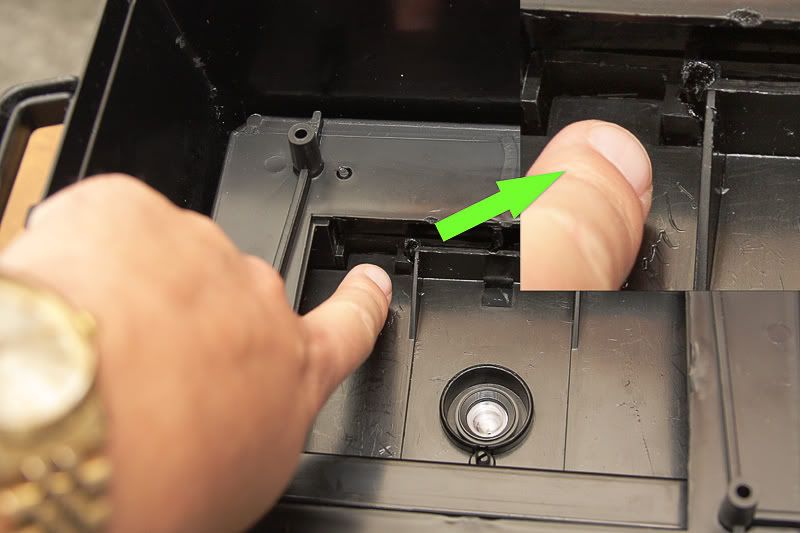
When you flip it back over, you are able to then lift the lower part of the head up and away from the base. Take it up and all the way over the back post. Here is a closeup of the head post once it’s removed, and a picture of the base once the head post has been removed.

0 comments:
Post a Comment